Music Visualizer

I am a sophomore student pursuing Computer Science. I am a Full Stack Developer & I craft web applications in TypeScript, Nextjs, TailwindCSS, PostgreSQL
Link to the project.
Description.
The whole project was done by using Three js 3d library, JavaScript, Html and CSS.
Resources.
To build the project I took help from threejs documentation and tutorialpoints.com.
Time taken.
To learn threejs from the beginning and made this project took around 2 and a half days.
Project Overview.
To make this project I created two files.
Index.html
Script.js
HTML File
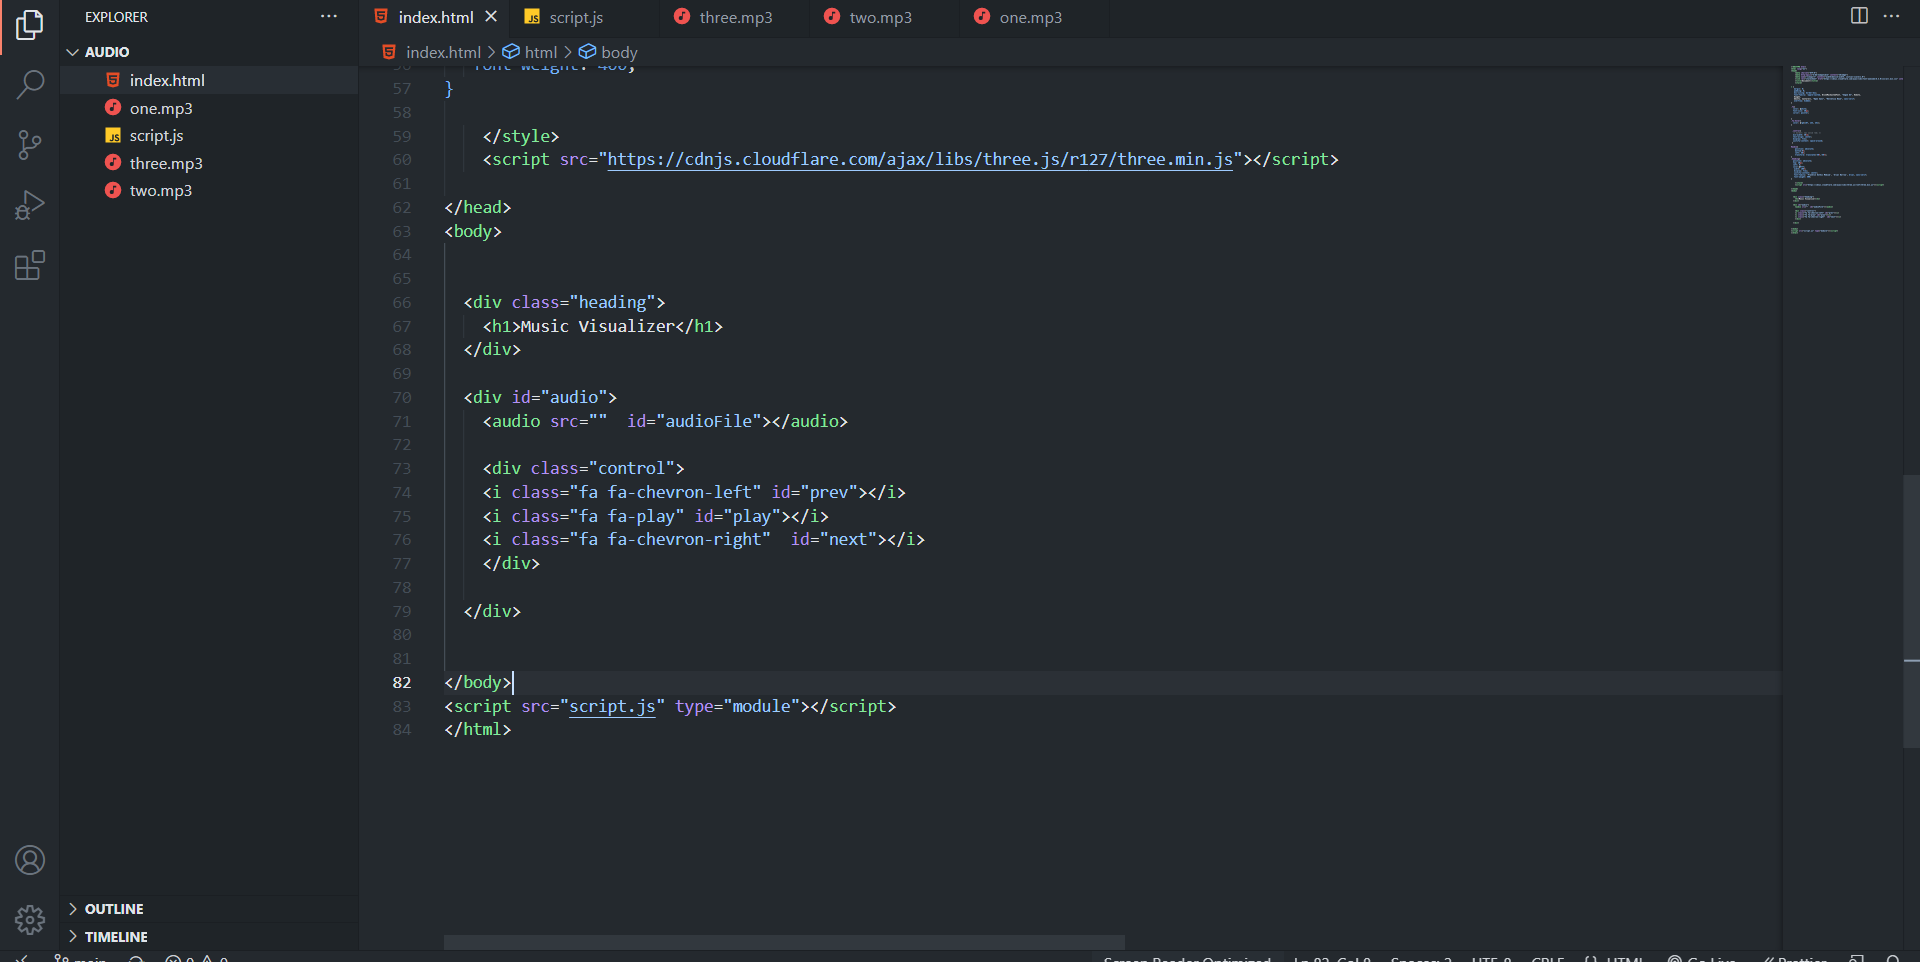
In this piece of code, I have written all the Html elements which will render on the screen. I have used threeJs library by using CDN and link the file using the script tag. After that link, your JavaScript file uses the script tag and creates an attribute as type, and gives the value as the module.
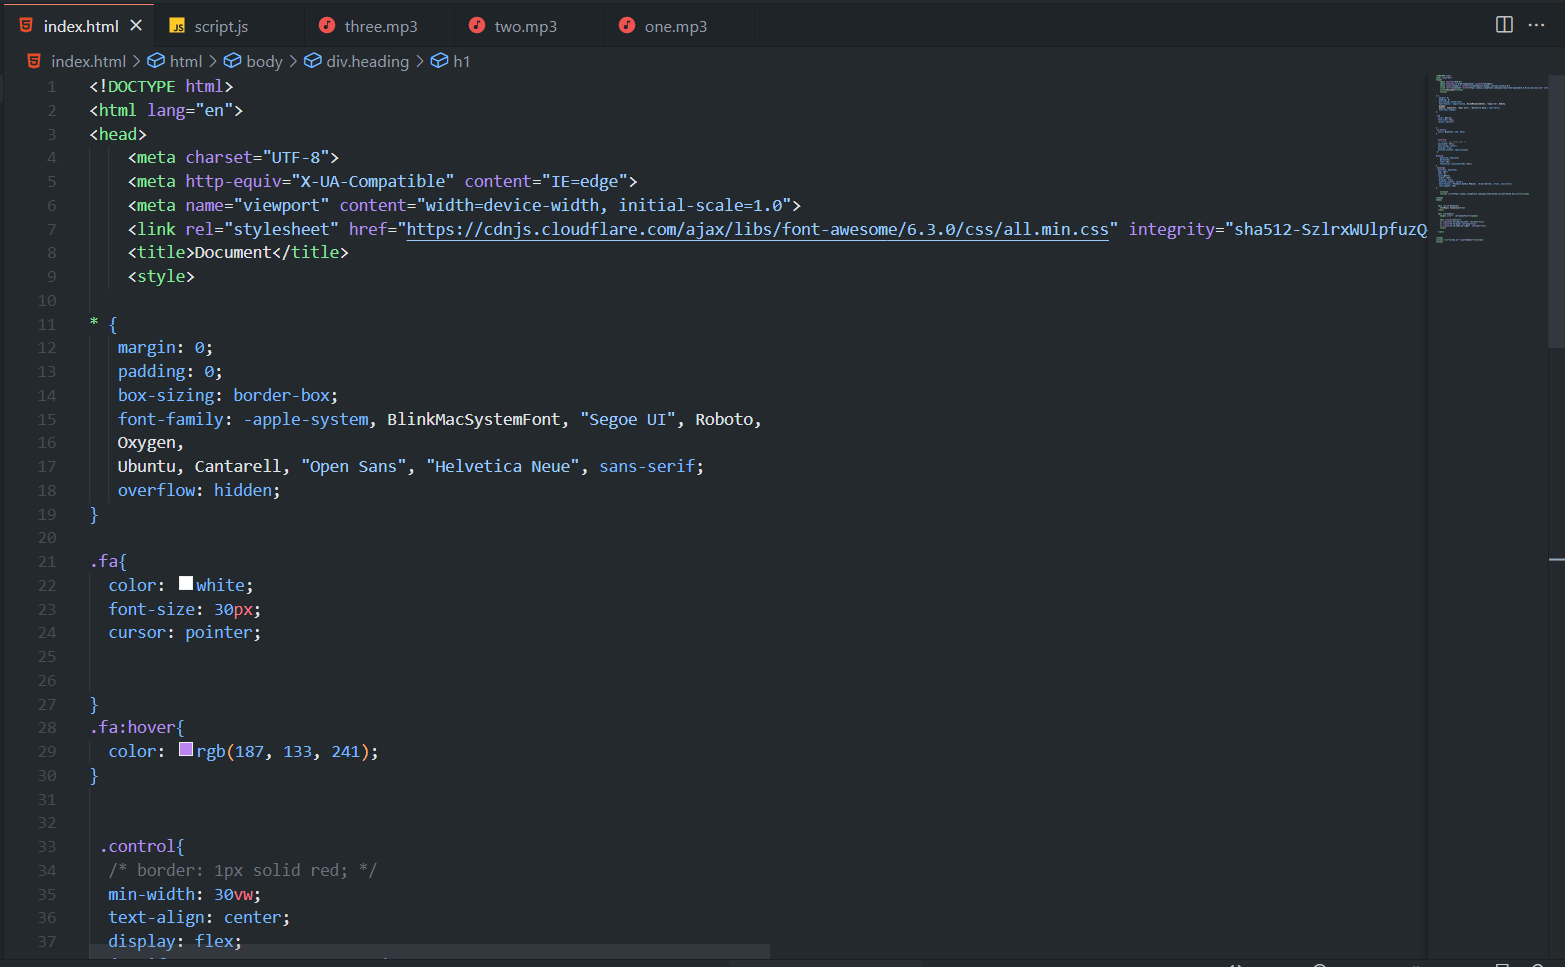
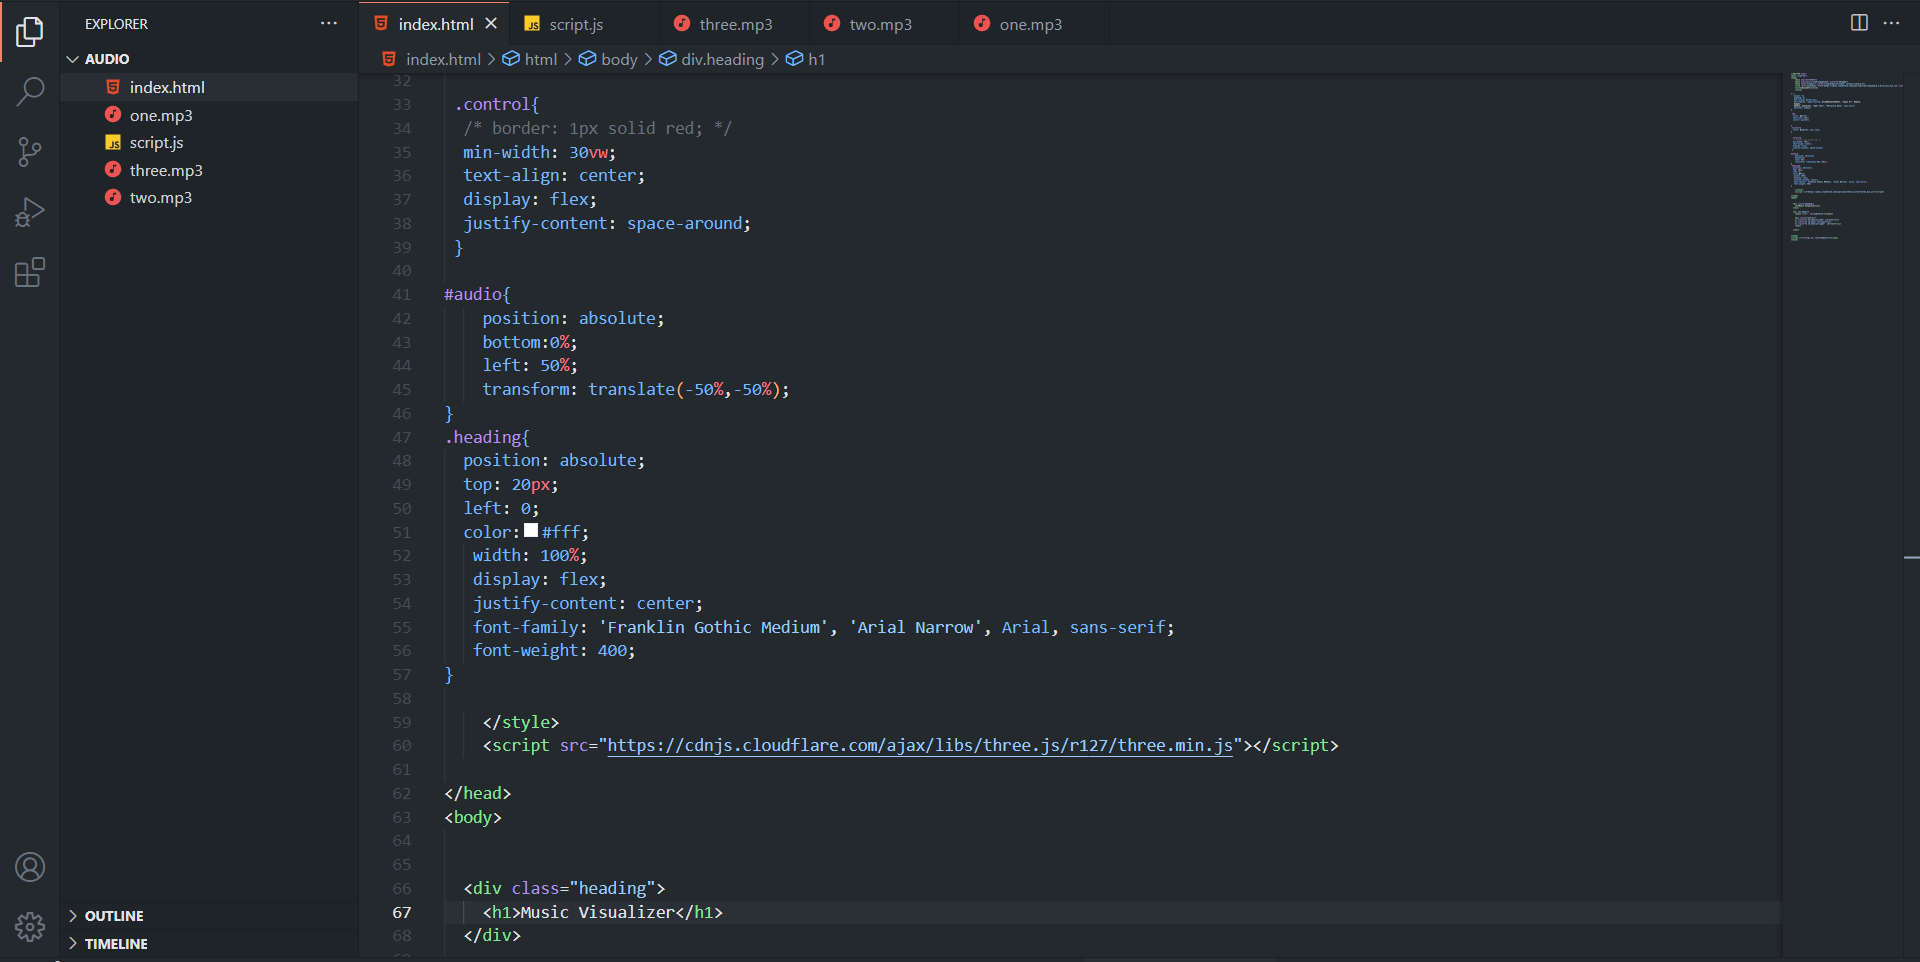
In the above code snippet, all the CSS code is written to build the project. And link the font-awesome icons using the link tag.
This much Html code is only required to make this project.
JAVASCRIPT File
In this section we will understand the JavaScript File.
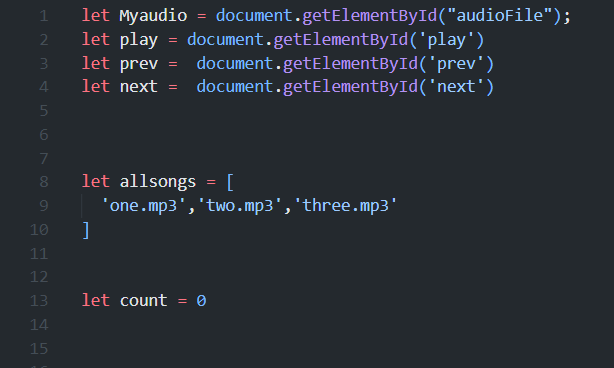
First of all, I get the necessary element from the Html file. Create an array that will contain all the songs. And declare a variable as count and assign it to 0. The count variable will help to play the song from the array.
After that I created the scene and camera using threeJs library.
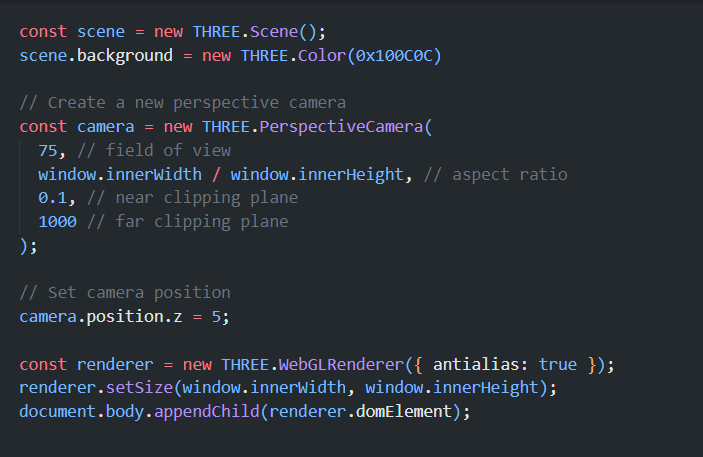
I have created the scene using the new THREE.Scene() constructor function, and after that set its background color using the new THREE.Color function.
After creating the scene and setting its color I created the camera.
In this project I used PrespectiveCamera. (There are different types of cameras in threeJs, for this project PrespectiveCamera is suitable).
After creating the PrespectiveCamera using new THREE constructor function I add some arguments.
The first argument is the field of view which I give 75.
The second is the aspect ratio which I divided by screen width and height by using the window.innerWidth and window.innerHeight property. And after that I added the near-clipping plane which will be 0.1 and the far-clipping plane which will be 1000.
The near-clipping plane is the closest distance from the camera at which object will render and the far-clipping plane is the furthest distance from the camera.
I put the camera.position.z to 5. It is a property in threeJs which specifies the position of the camera along the z-axis.

Now let’s call the function to render our scene on the webpage.
The first step is to call the WebGlRenderer.(this is used to render the scene).
After the set the size of the renderer by using setSize property.
It will allow us to create our scene size.
The last step is to append our scene to Html element.
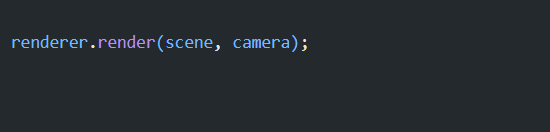
Now this method will be required to render our scene on the webpage.
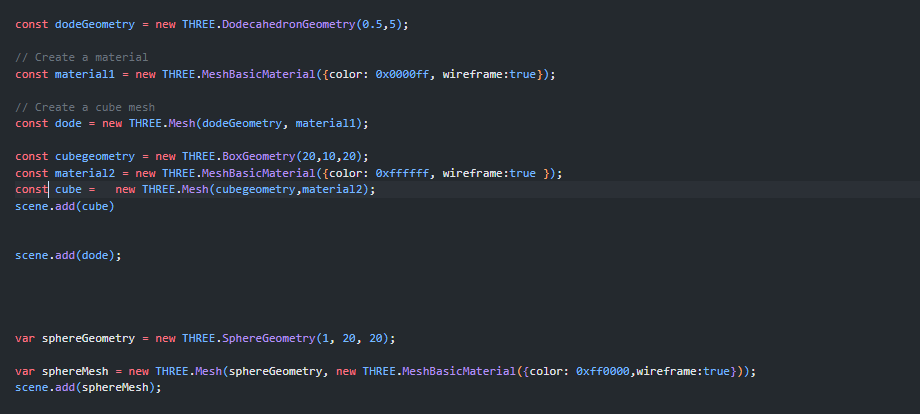
In this section, I have created all three objects which will be required in our project.
The first one is DodecahedronGeometry, the second is BoxGeometry
And the third one is SphereGeometry and in the argument, I have put all the values regarding the size and radius of the object.
After that, I call MeshBasicMaterial function in this function I have put the color and wireframe object as an argument.
After that combine the geometry and its property using Mesh function and add it to scene using scene.add().
Now the geometry part is over and Audio part is starting.
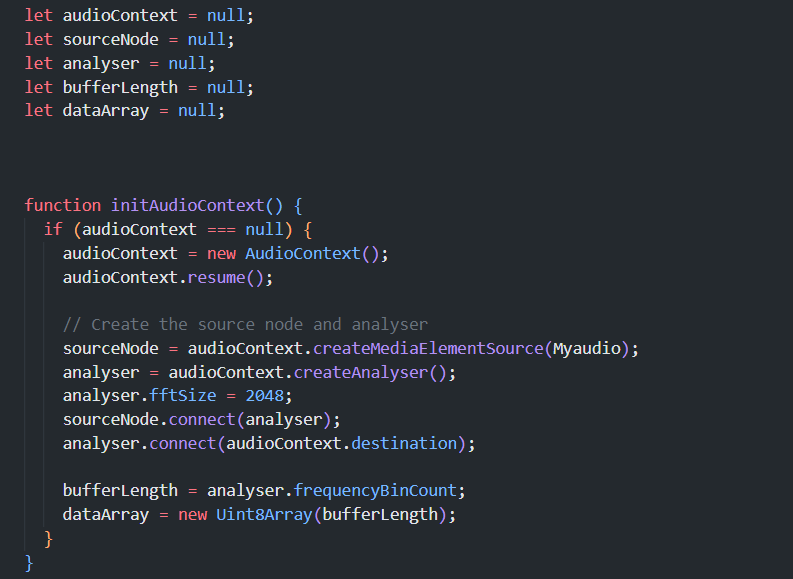
First of all, we created the audioContex, sourceNode, analyser, bufferLength and dataArray variable and give all of them a null value.
AudioContex: AudioContext() is an object in the Web Audio API that represents an audio processing graph, used for creating, processing, and playing audio in a web browser. To create a new AudioContex we have to write new AudioContex() constructor function
SourceNode: SourceNode represents the audio file.
Analyser: Analyser provides the real-time frequency of the audio.
BufferLength: BufferLength is the property of Analyser.
DataArray: DataArray returns the frequency data.
Now create a function as initAudioContex()
In this function I have created a new AudioContex() and after that add the property resume(). After that create the sourceNode using createMediaElementSource method, this method gives the audio processing graph of an audio or video file. And now get the analyser using createAnalyser() method. This method will create a AnalyserNode which will perform the frequency of an audio single. Now set the fftSize to 2048. The fftSize property of the AnalyserNode interface is an unsigned long value and represents the window size in samples that is used when performing a Fast Fourier Transform (FFT) to get frequency domain data.
Connect the source node to analyser and then connect the analyser to AudioContex.destination(It represent the final destination of an audio data);
To get the bufferLength use analyser.frequencyBitCount And to get the dataArray use the new Uint8Array(bufferLength);
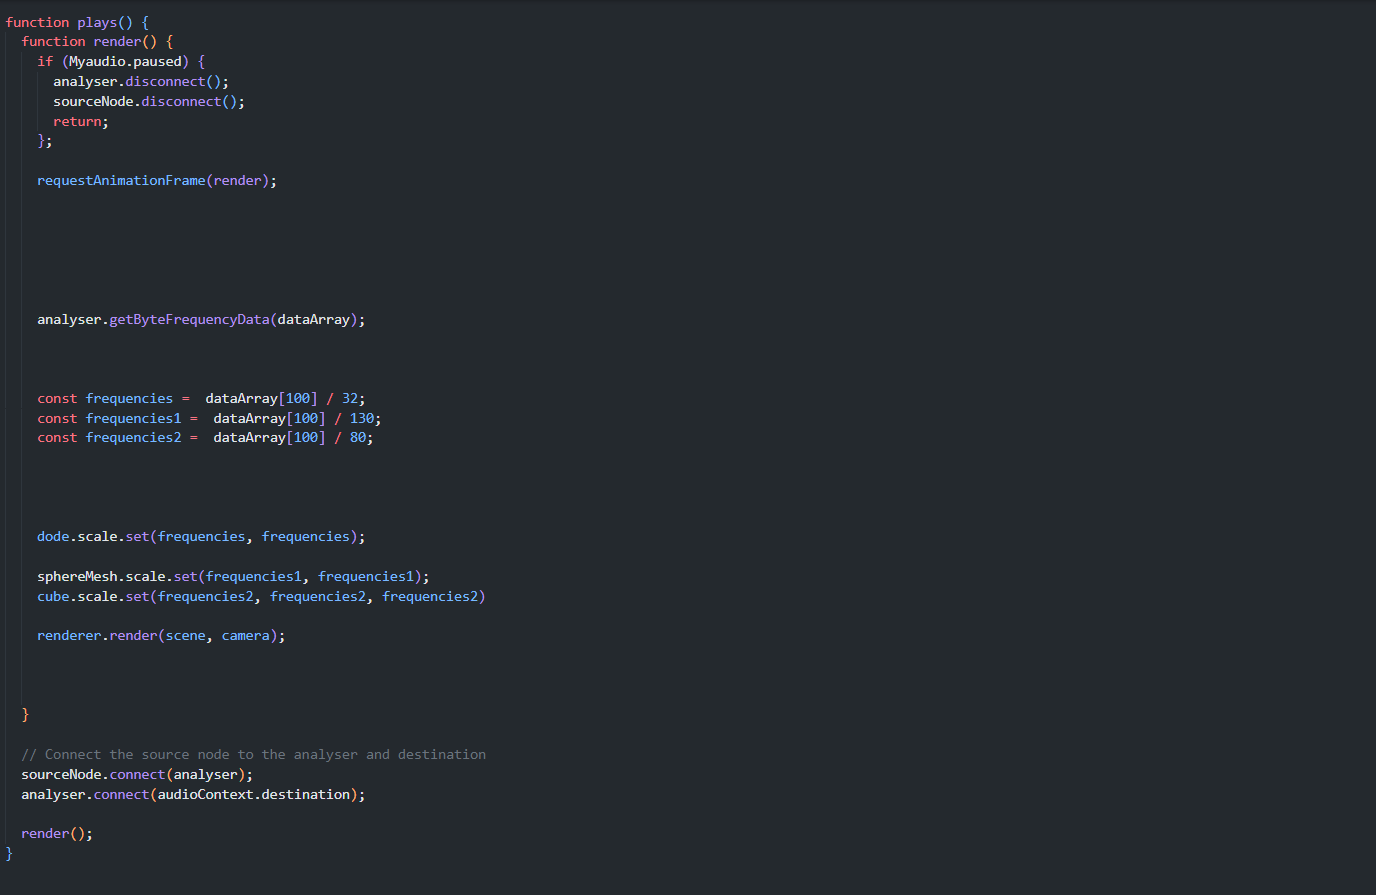
Now create a plays() function and under that function create a render function. Disconnect the analyser and the sourceNode if the audio is paused and return the function.
Else create requestAnimationFrame(render), this method will us to give the live frequency of the music. Call this function analyser.getByteFrequencyData(dataArray); It will Uint8Array as an argument, and fills the array with frequency data representing the audio signal
Now get the frequency to scale our object while the audio is playing. After this connect sourceNode to analyser and analyser to audioContex.destination.
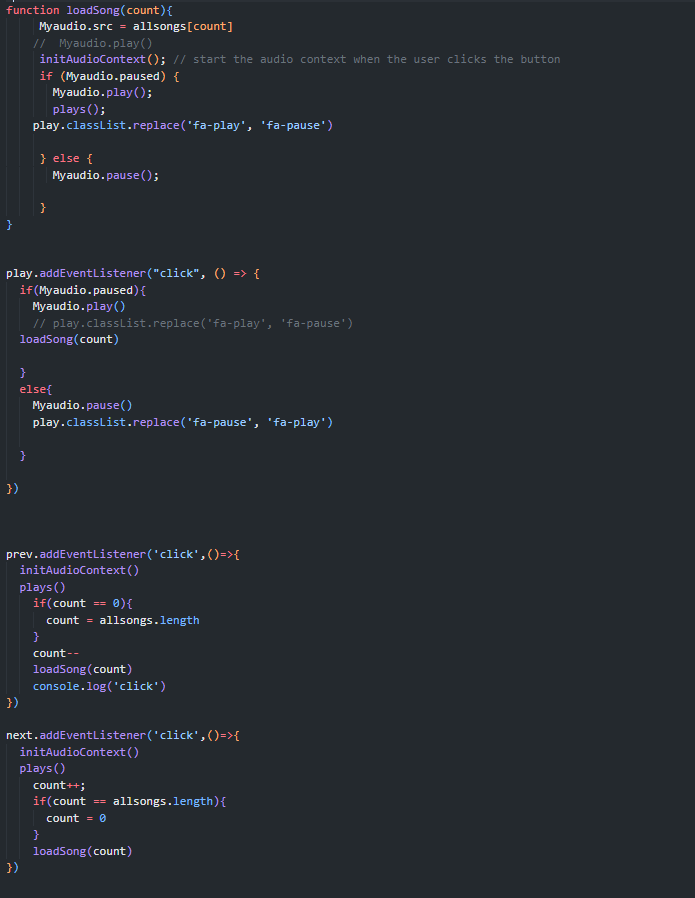
Now create a function a loadSong () In this loadSong function the audio source will initialize by the array using count variable. Call the initAudioContex to start the audio context when the audio is playing. Write a conditional statement when the audio is paused then play the audio, call the plays function and change the icon of the play button.
And if the audio is playing then pause the audio.
Now addEventListener to play button and call the loadSong function. After that addEventListerner to both prev and next button then call the loadSong function and update the counter variable.
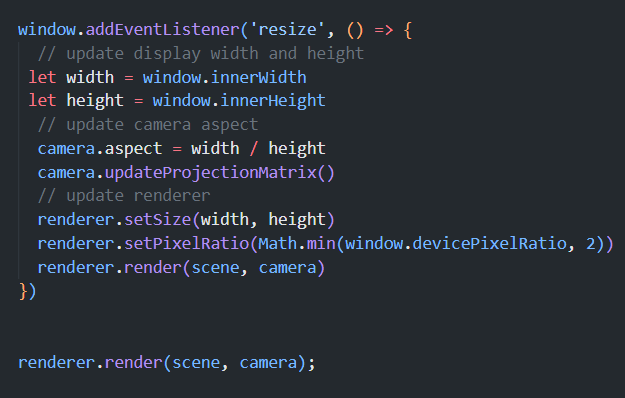
This is the last code of our project. This code is for responsiveness. Our webpage will be responsiveness according to the size of the screen when it resizes And after that call the renderer.render(scene,camera)


