


Hello guys 👋 this is my first blog post in this platform. In this blog post I am sharing my experience that how I learn Figma and make a simple portfolio website. I learn Figma by taking help of Youtube. I watch the tutorial video playlist of Thapa Technicalin Youtube. In that playlist he taught from basic to advance level of figma along with making project.
The First Page of my Project.
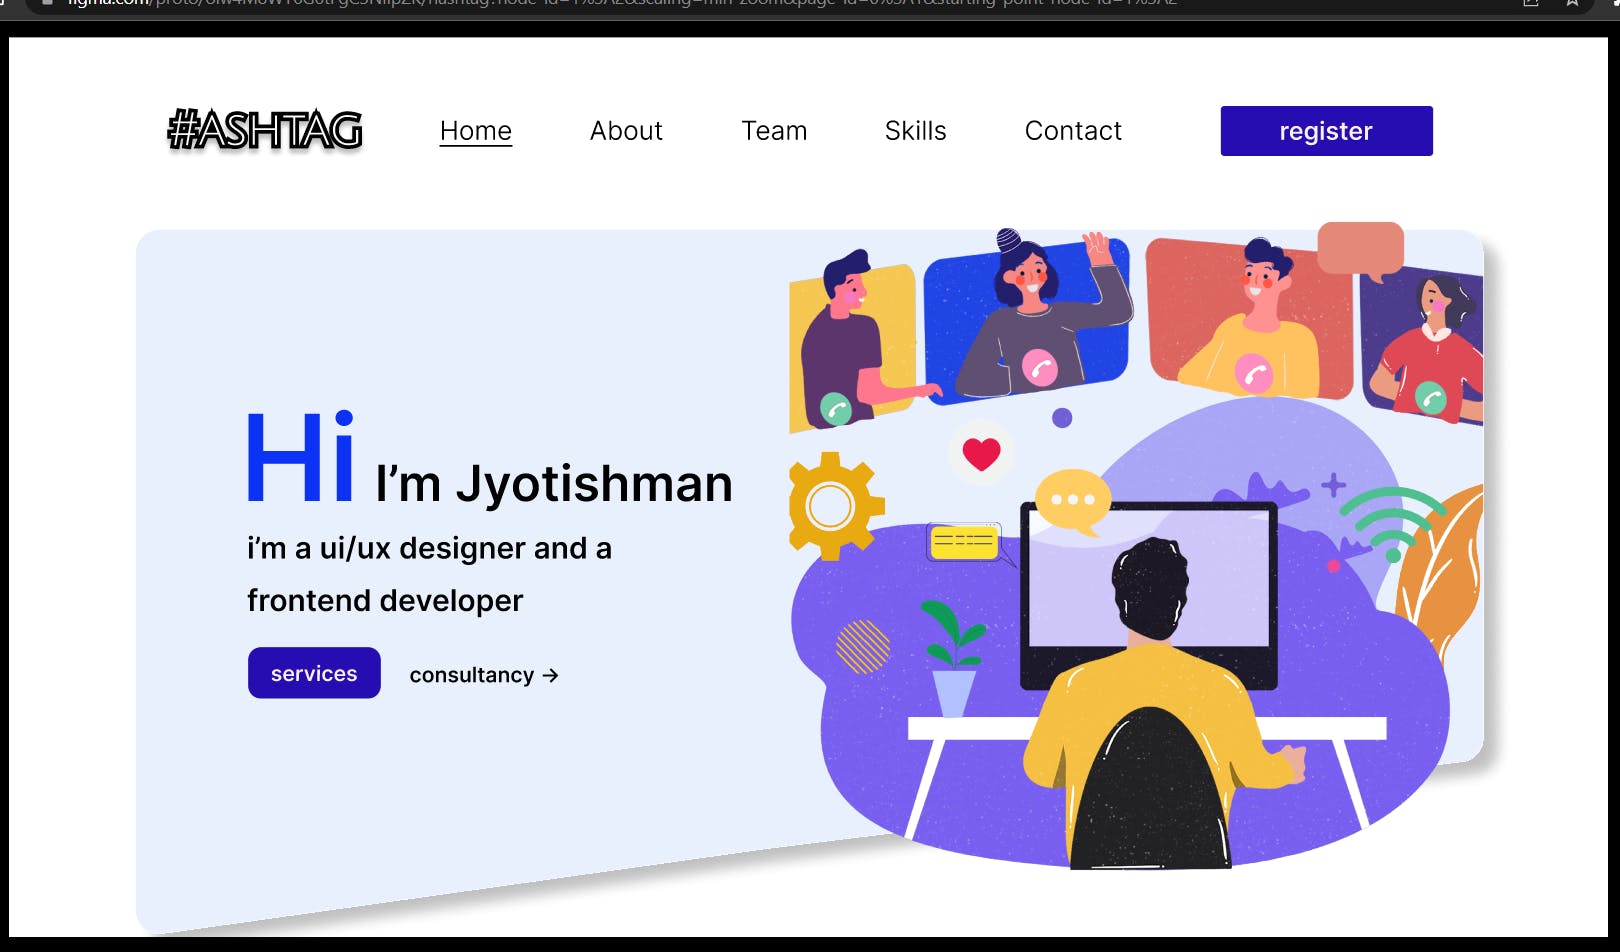
This is the Home Page of my project.
I have make this entire project by using the frame of Apple I Mac. The whole project is suitable for I Macs.(You can select your own frame, after selecting the frame option in the right side of the application there are list of option for frame which you can select for making your own project) First of all I have created the navbar and give it at the header section in all of my web-page. I made the project by using layout grid. I align an Position the items with the help of layout grid and scale. Scaling is a very important features in figma. Through scaling we can align and scaling the items correctly. After that I created a big container by using rectangle tool and give it a custom shape from the bottom and give a color with less opacity and a box shadow. Then I created the left side content by using Text tool. I make the button using text tool by frame selection. I select the left side content as frame selection(we can use frame selection by selecting all the components by pressing shift and then right-click and select the frame selection option) and use auto layout for perfect padding. After creating the left side I placed a Vector art picture in the right side of container.
The About Page of my Website.
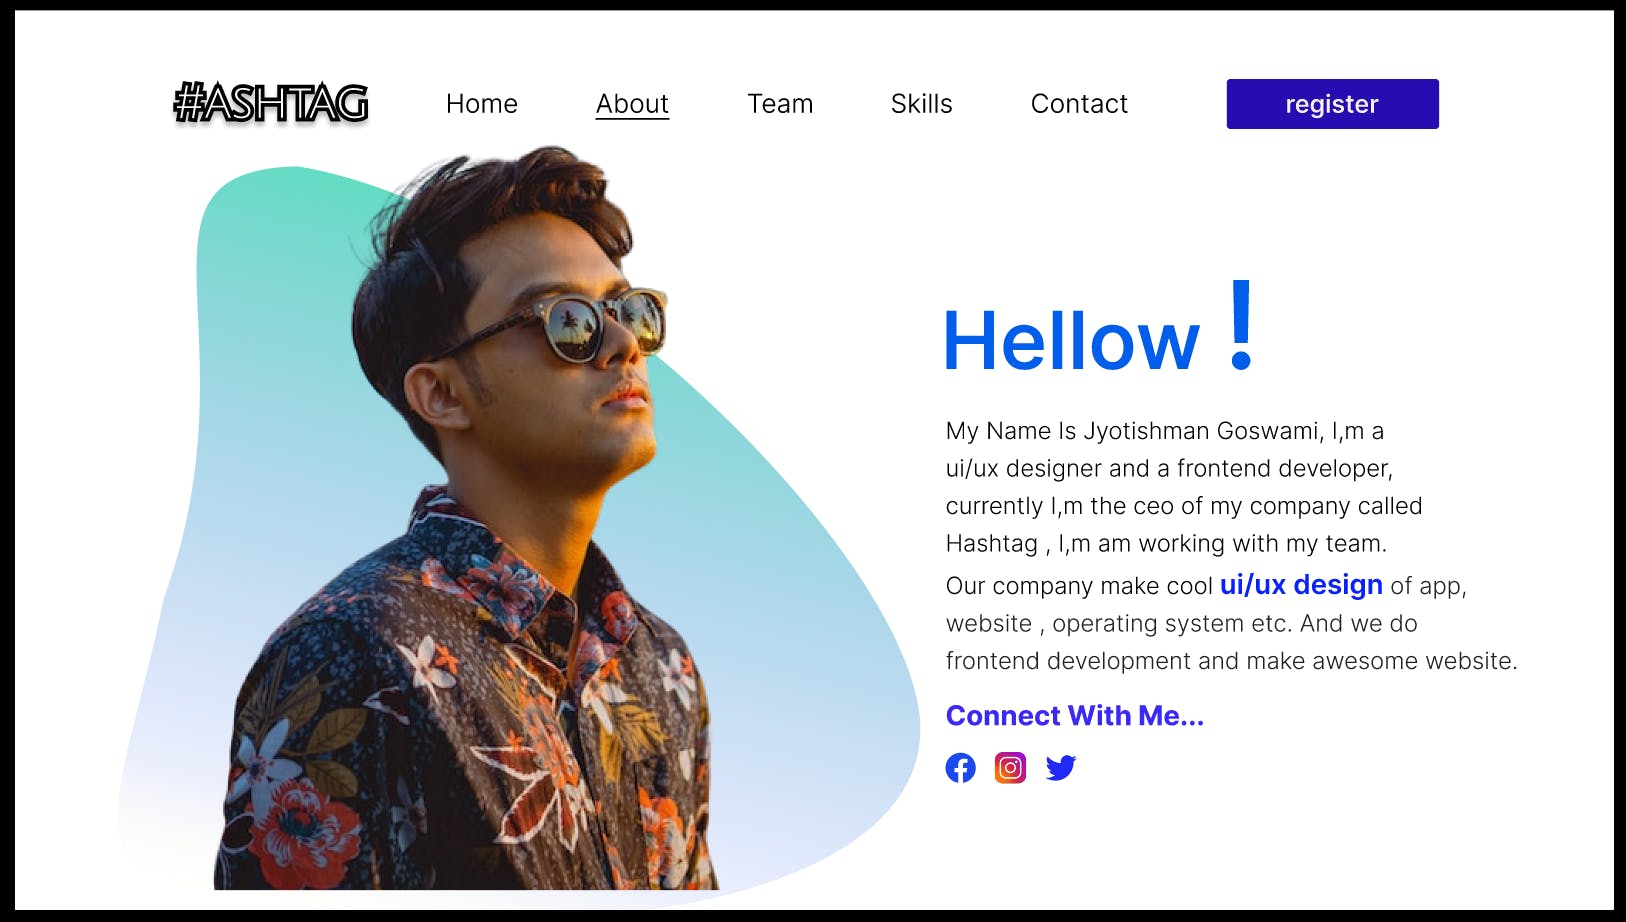
This is the about page of my website.
After creating the home page of my website I simply select the frame and then drag the frame by pressing alt key in my keyboard. By doing this we can copy frames or components / elements in figma. After that I rename the page as about page. I delete all the elements from my page except the navbar. I created a circle and give it a custom shape and a gradient color with low opacity. I upload a portrait photo by using the plugin called unsplash(which is a stock photo website) and then I combine the circle and the photo together and right click on the circle and send it to back, and select both as frame selection and placed it at the left side of the webpage. After that I design the right side of the webpage by using text tool. After writing the content I align the items and placed it correctly by scale. I upload the social media icon by using the plugin called font-awesome(the instagram icon is a picture which I download from the internet and upload there).
The team page of my website.
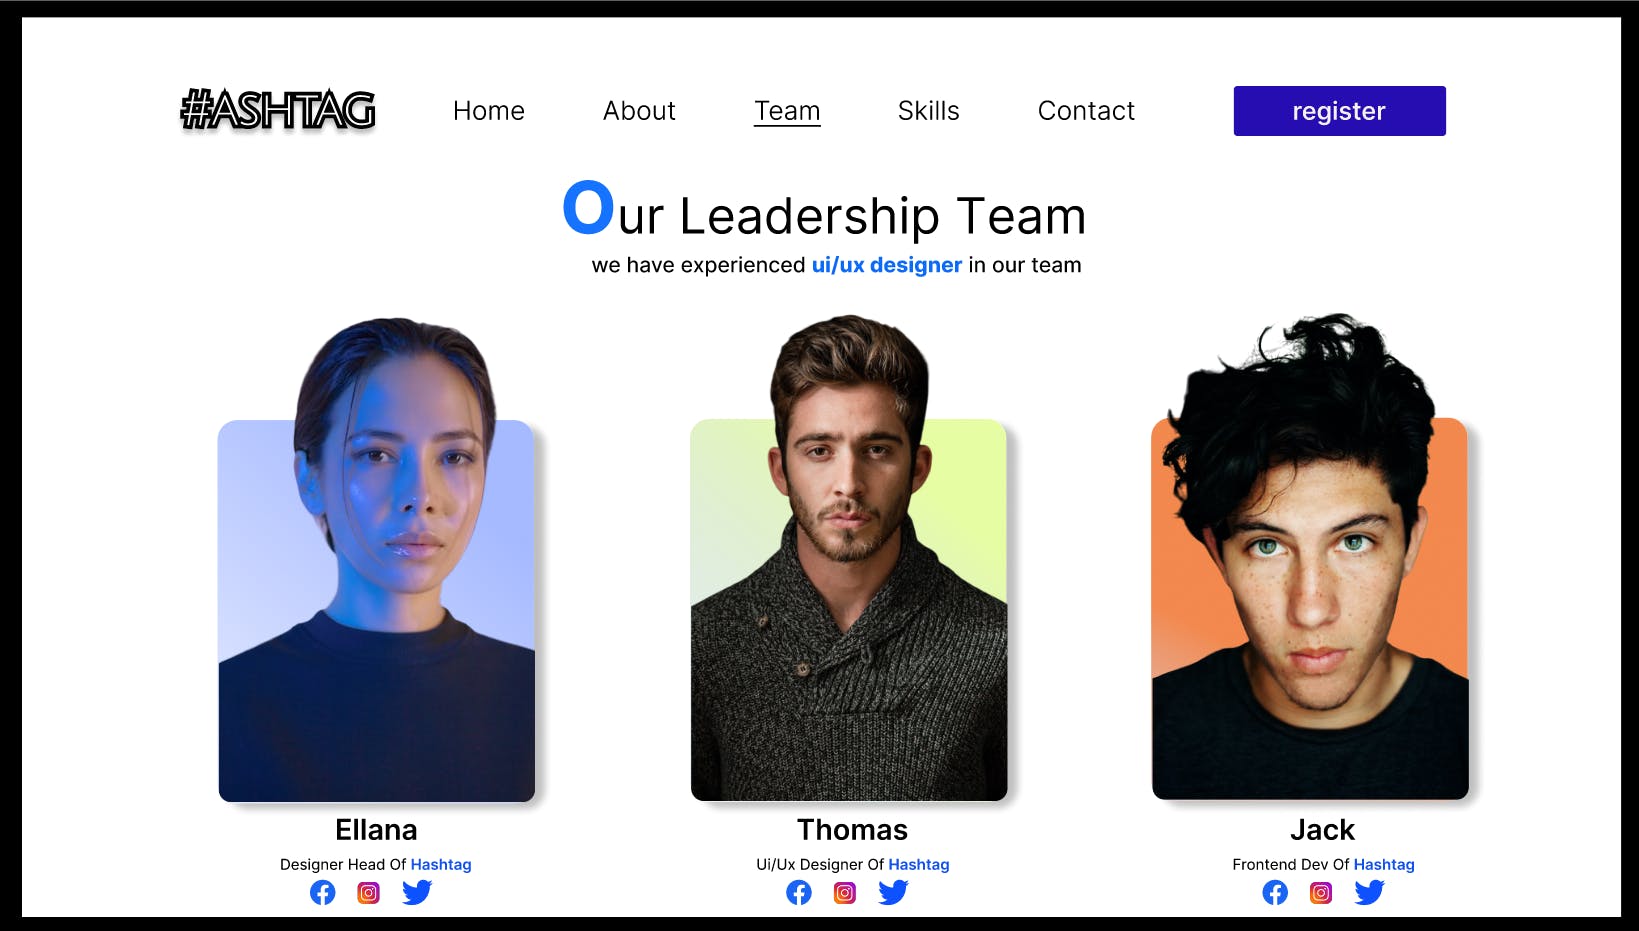
This is the team page of my website.
First of all I copy the frame and rename it as team page. I write the heading and the small para using the text tool and placed in the center horizontally. After that I created the box using rectangle tool and it a border radius of 8. I copy the boxes using alt key and then fill the boxes with linear color gradient and align the boxes. Then I use three portrait image and placed it in the boxes. I remove the background image of the images using a plugin called REMOVE BG. After that I increase the size of the images so that it look good and give a box shadow in the three boxes. I put some text in the bottom of the box along with some social media icon.
The Skill Page of my website.
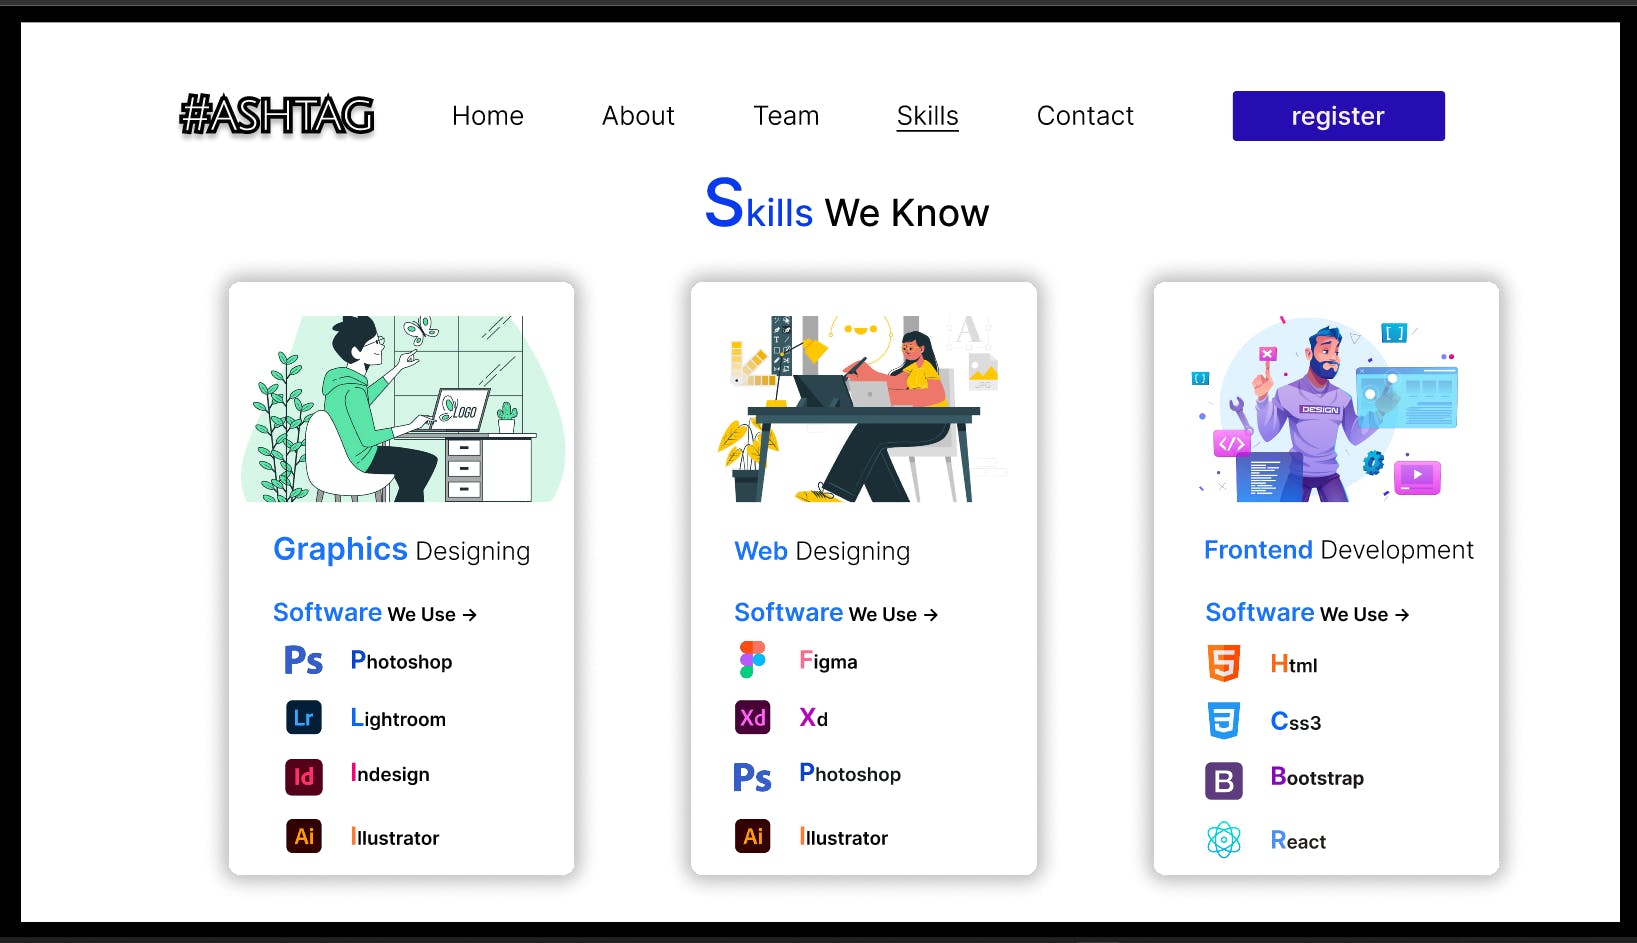
This is the skill page of my website
I rename the frame as Skill page, and then I write the heading and places it the center horizontally. After that I created three box I give it some bored radius and box shadows. I download three Vector art image from internet and upload it in the top of the boxes. After that I write some text followed by some software and languages icons. I align both the text and icon by using scale and layout grid.
The Contact Page of my website.
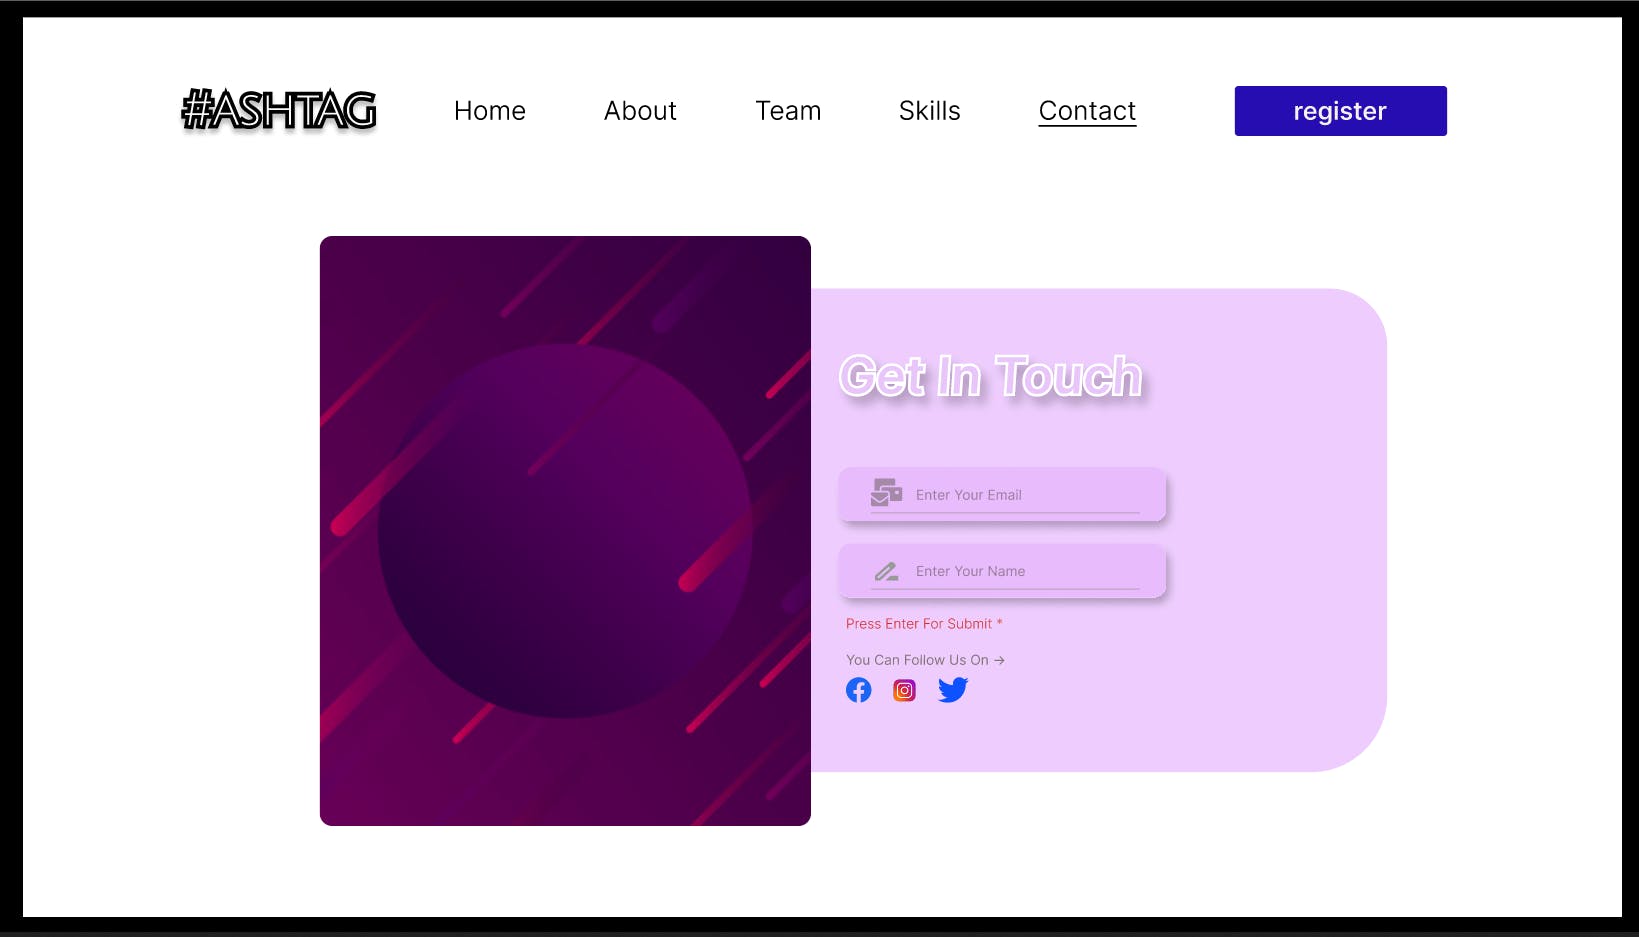
This is the contact page of my website.
I rename the frame a contact page. Then created a big container using rectangle tool and placed the container in the center using layout grid. After that I make two box under the main container and align the box center. In one side of the box I upload a image and in other side I give the basic option for a container page. In the right side box I give two inputs for Email and Name. And in the bottom I give some social media icons. At the last I used scale to position and placed it correctly.
The Register Page of my website.
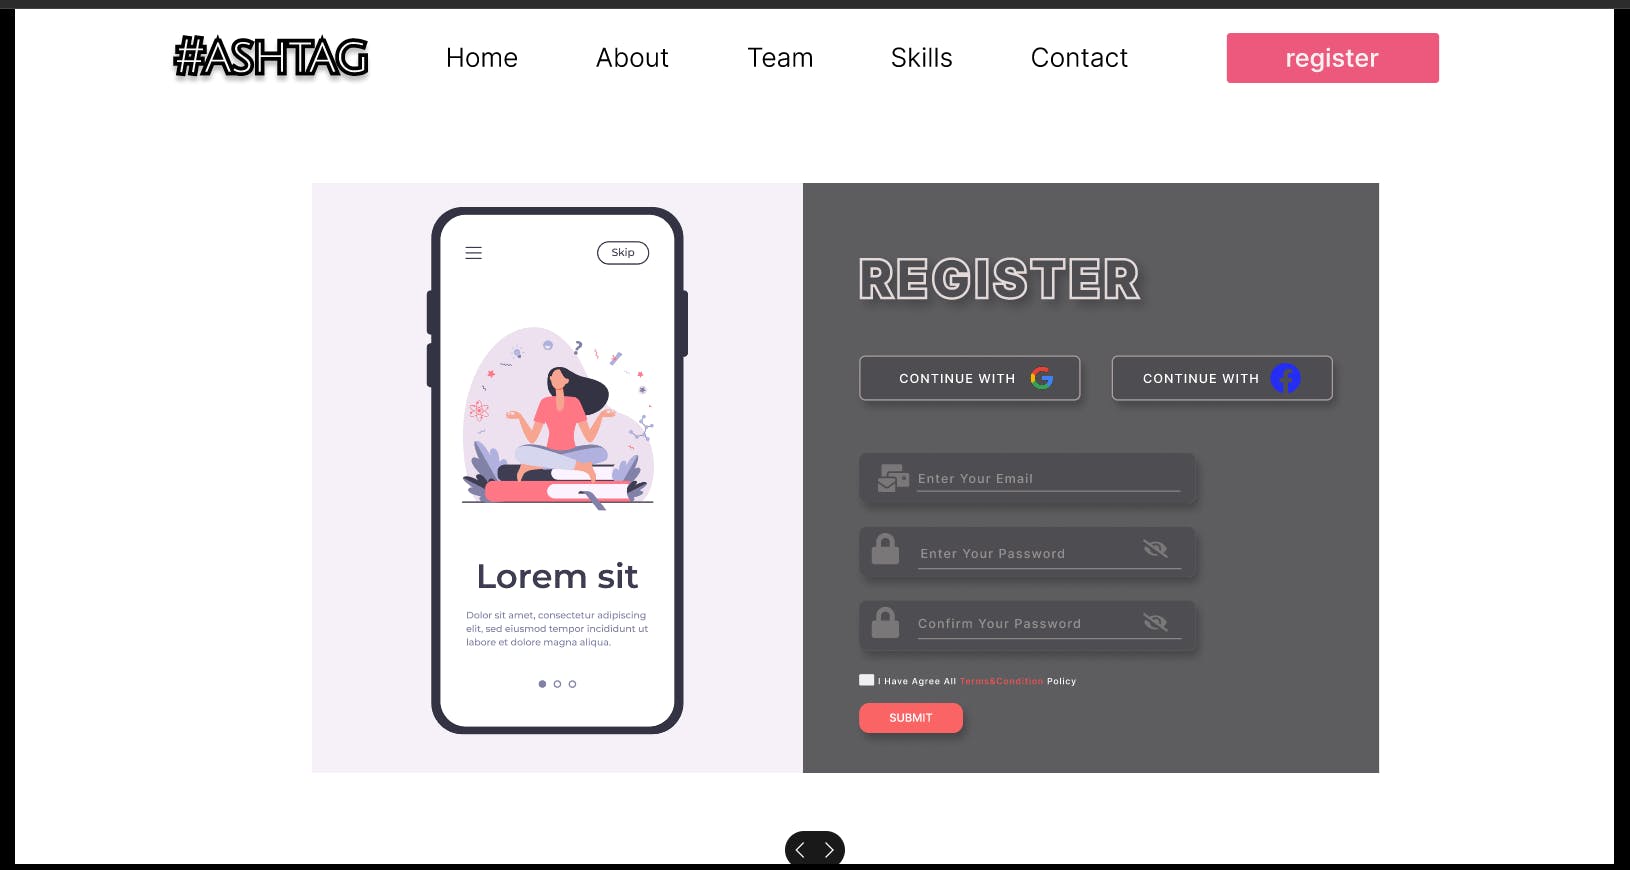
This is the register page of my website.
I rename the frame a register page. The Contact and Resister page of my website are very common. Not many modification have been done for creating the register page. Very few and basic modification have been done for this page. The modification I have done in the page is
- The border Radius.
The color and images of both the boxes.
The right side box height has been increased.
4 .The register text in the right box has been created using strokes. That's it for the register page.
Additional Point*
In this whole project I have choose the color with low opacity
I didn't used direct solid color.
Important Links*
For figma tutorial -> Thapa Technical
For my figma project -> my figma project
Thank You....